How to set up the Xero Integration
How to Set Up the Xero Integration in Gymflow
Written By Anna Gertsen
Last updated 12 months ago
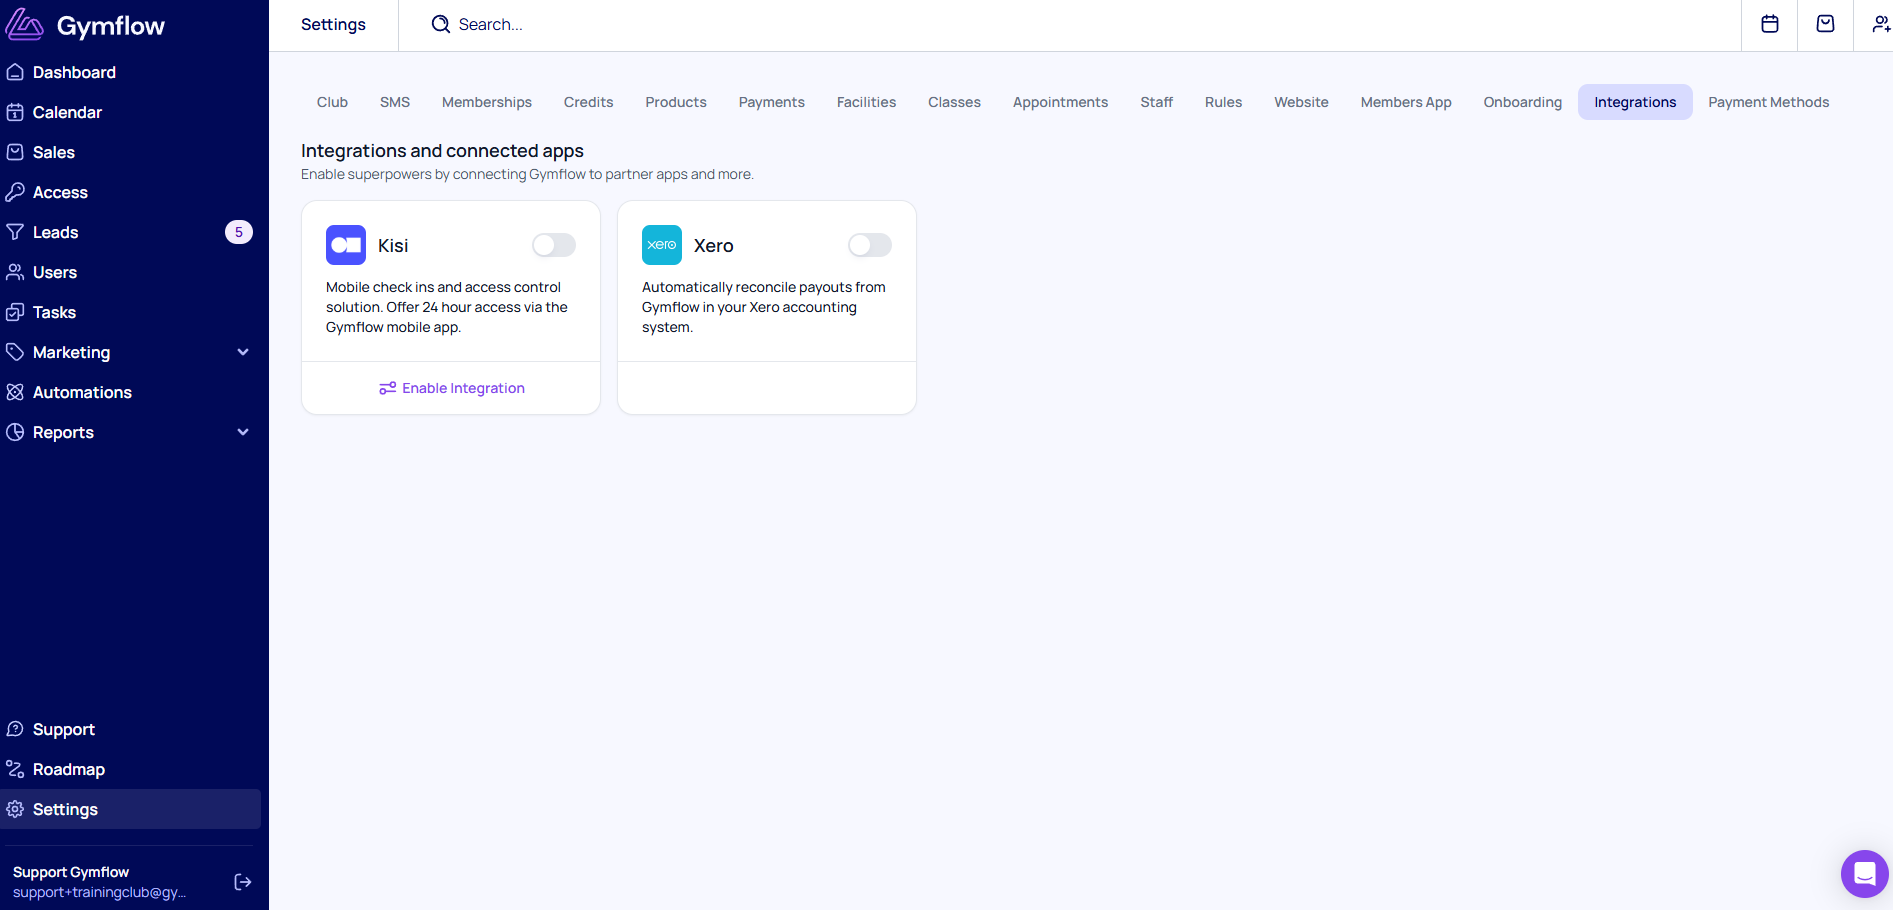
Step 1: Enable the Integration
Go to Settings > Integrations > Xero Integration in your Gymflow account.
Turn the toggle on to enable the integration.
You’ll be prompted to log into your Xero account.
Once logged in, you’ll be redirected back to Gymflow.
Step 2: Map Your Xe Accounts in Gymflow
After logging in, you’ll see a setup screen:
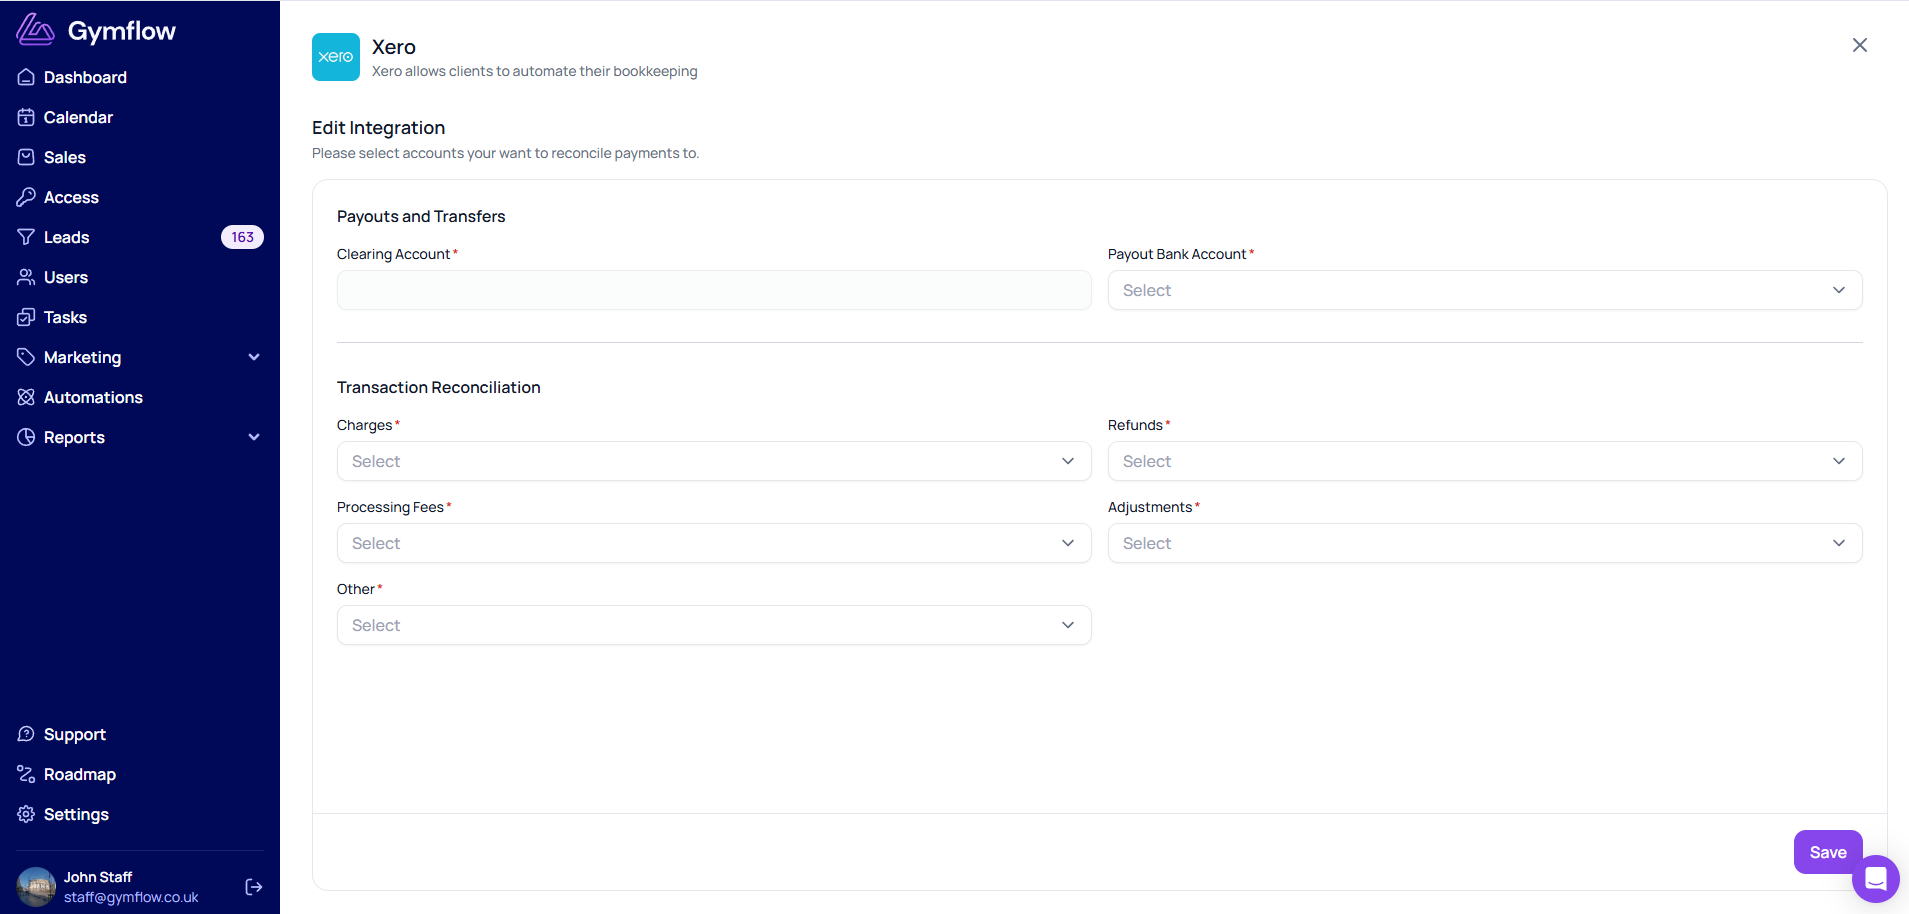
Here's a breakdown of the field you need to fill out:
Bank & Clearing Accounts
Payout Bank Account:
Select the bank account in Xero where Gymflow deposits Stripe payouts.
(These options are automatically pulled from your Xero account.)Clearing Account:
Automatically created in Xero. This is where individual payout components are first recorded before the total is transferred to your Payout Bank Account.
Transaction Reconciliation
This section tells Gymflow how to categorize the different parts of your payouts in Xero. You'll see five fields:
Charges: choose where revenue from membership sales and other charges should go, a common choice is “Membership Revenue” or “Sales”.
Refunds: choose an account to track refunded payments. Some businesses use the same account as Charges, others have a separate “Refunds” account.
Processing Fees: choose the account for Stripe payment processing fees to recorded to.
Adjustments: rarely used, choose a low-traffic account so you can investigate if this ever appears.
Other: also rarely used. Assign to a low-activity account for easy review later.
Once you've completed this step, click Save. Setup in Gymflow is now complete.
Please note that currently the integration does not support multi clubs using the same Xero organisation, support for this is in the works.